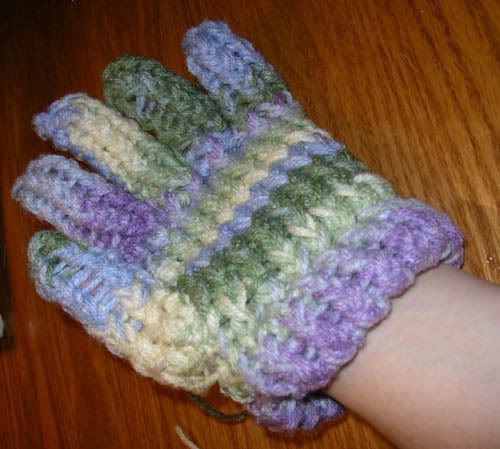
Knifty Knitter Glove
I hope you enjoy this pattern. I have done my best to take pictures and explain how I made the glove as best I can. If you have questions, please email me at calzephyr AT gmail DOT com. If you really like, please consider a little tip through PayPal.
You will need:
I used two plys of variegated Red Heart Super Saver yarn. You could probably use a bulky yarn just as well. This glove will fit a small adult hand. The pattern can be adjusted for larger hands though. Fit your work against your hand (or the hand that you’re making it for) for best fit. The size may also vary with the wool you’re using.
If I ever make a fourth glove, I may make the fingers from one ply of medium wool, and one ply of a matching sportweight wool. One ply of Red Heart was too loose, two plies a tad bulky. Just something to keep in mind! It took three tries to make a glove that I was satisifed with. It was inspired by the Hobo Glove pattern on the Knifty Knitter website.
Step One
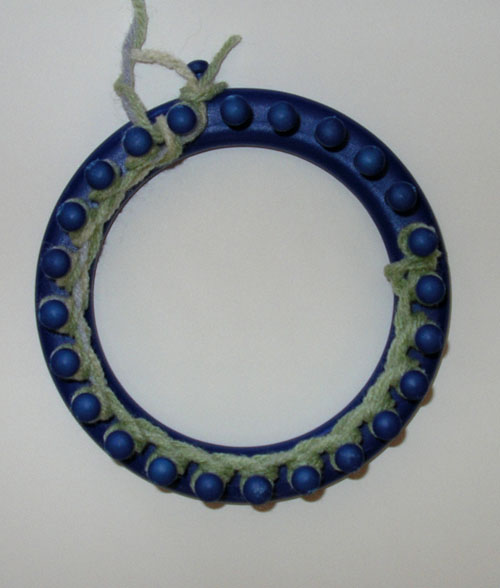
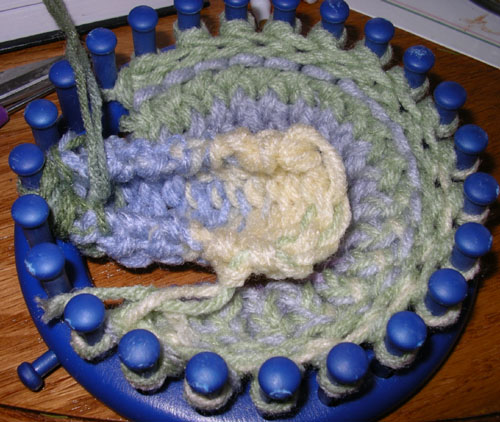
Cast on the Knifty Knitter loom with two plys of wool held together. Wrap until peg 19. Turn back on peg 19 and wrap back to peg 1. Knit seven rows.
BTW, I made a cuff on my glove, so initially I made 11 rows. On the 11th row, I folded my stitching back up into the loom and brought the first row of stitching back onto the loom. This is like making a brim on the hat (Detailed instructions for making a brim are included with the Knifty Knitter round loom set).
Step Two
This glove was made for my hand, so I started the thumb about row 7, when my wrapping returned to peg 1. I pushed the stitches on pegs 19, 18, and 17 down so they would not be accidentally used. Starting at peg 1, I wrapped pegs 24, 23, 22, 21, 20, 19, 18, and 17. I turned around on peg 17 and wrapped back to peg 24. I made eleven rows for the thumb. Cast off the thumb this way:
Cut a tail about twice the length of the thumb. Lift the remaining stitch and pull the tail through with the crochet hook. Pull tight. It looks like you won’t be able to continue with the glove, but don’t fear!
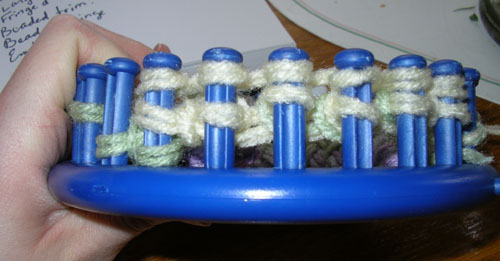
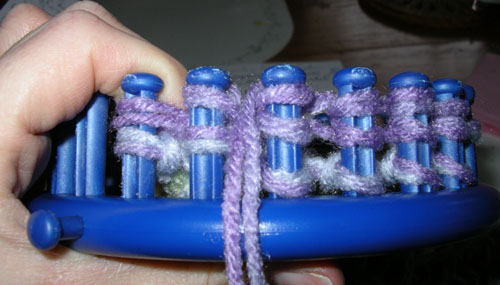
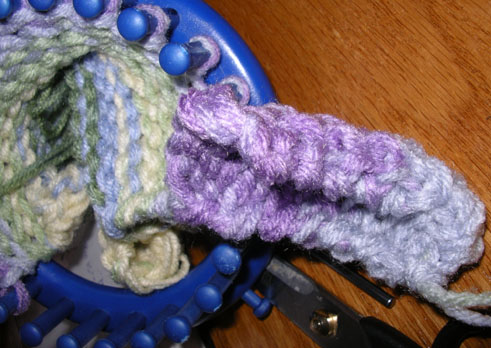
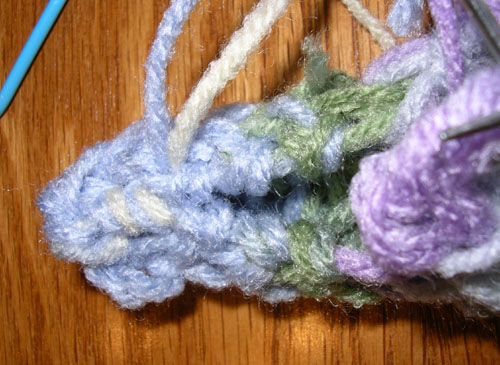
This picture shows how I pushed the stitch down.
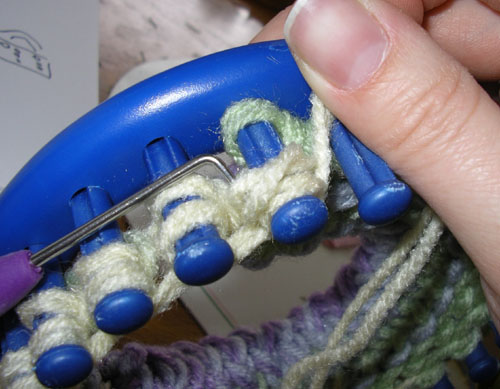
This picture shows how I knitted around the stitch that was pushed down.
Step Three
Make a half-hitch knot and place it over peg 1. Wrap to peg 19 and knit seven more rows. You should be back at peg 1 at the end of the seventh row. This is where a little sticky out piece of knitting will be made. It connects the two halves of the glove and makes room for the side of the hand.
Wrap pegs 24, 23, 22, 21 and 20 and wrap back to peg 24. Knit off.
Decrease one stitch ever row for four rows like this:
Knit six more rows. This will finish the bottom half of the glove. Leave a tail about three times the circumference of the blue loom. The tail should be left on the side of peg 19. Knit another row if it doesn’t end up on that side.
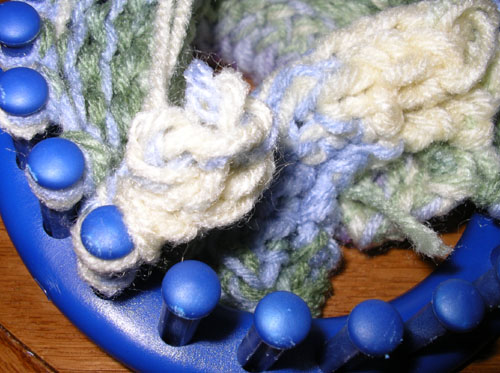
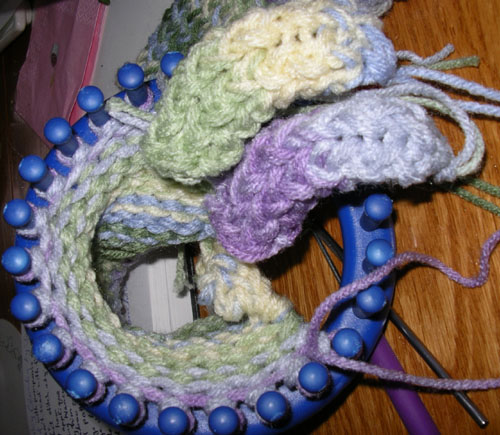
This picture shows the thumb:
Here is the thumb and "sticky out part":
Step Four
The fingers are all made the same way. Each finger consists of six stitches, and each finger will be anchored to the main part of the glove with two stitches. There will be lots of tails around, so it might be a good idea to sew up the thumb first. Sew the thumb up from the top until about three rows from the bottom. Don’t clip the tail. Remember to measure against the hand being fitted and add or decrease rows.
Step Five
The first finger will start on pegs 1 and 2 and will be the index finger. Push down the stitches on pegs 3, 4, 5 and 6 so they are not accidentally used. Make a half hitch knot and place it over peg 1. Wrap pegs 2, 3, 4, 5 and 6. Wrap back to peg 3. Knit off. Bring the wool around to peg 1 so you can start wrapping normally again. My index finger was eleven rows.
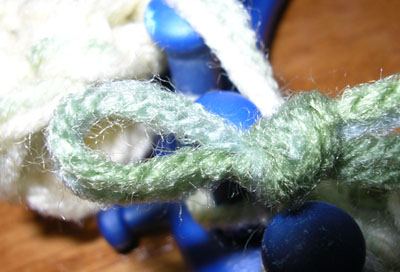
The knot that becomes stitch 1 looks like this:
This picture shows how I pushed down the stitches and wrapped the six pegs:
Cast off the index finger like this:
Cut a tail about twice the length of the index finger. Lift the remaining stitch and pull the tail through with the crochet hook. Pull tight.
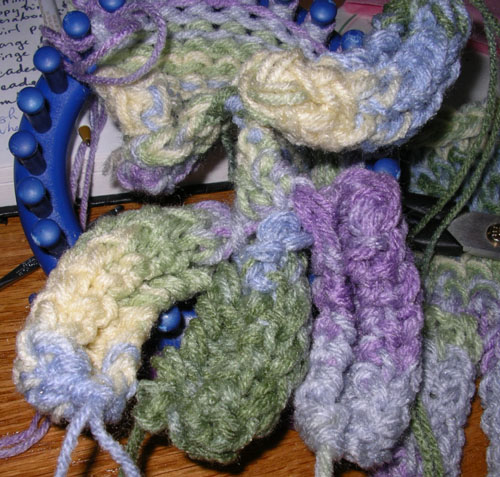
The finished index finger:
Step Six
The middle finger will start on pegs 3 and 4. Push down the stitches on pegs 5, 6, 7 and 8 so they are not accidentally used. Make a half hitch knot and place it over peg 3. Wrap pegs 4, 5, 6, 7 and 8. Wrap back to peg 5. Knit off. Bring the wool around to peg 3 so you can start wrapping normally again. middle finger was thirteen rows. Cast off the index finger like this:
Cut a tail about twice the length of the middle finger. Lift the remaining stitch and pull the tail through with the crochet hook. Pull tight.
Two fingers finished!
Step Seven
The ring finger will start on pegs 5 and 6. Push down the stitches on pegs 7, 8, 9 and 10 so they are not accidentally used. Make a half hitch knot and place it over peg 5. Wrap pegs 7, 8, 9 and 10. Wrap back to peg 7. Knit off. Bring the wool around to peg 5 so you can start wrapping normally again. My ring finger was eleven rows. Cast off the ring finger like this:
Cut a tail about twice the length of the ring finger. Lift the remaining stitch and pull the tail through with the crochet hook. Pull tight.
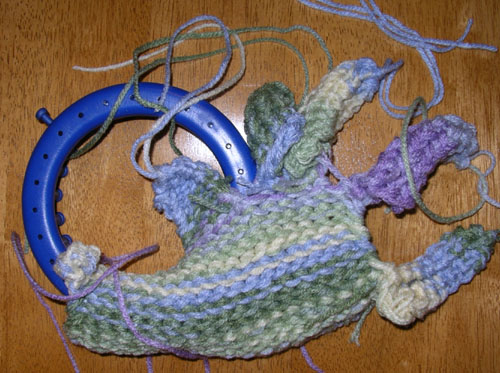
One finger left to go!
Step Eight
The last finger is the pinkie finger and the easiest to do. It will still be six stitches around, but because the pinkie occurs where the glove will be folded, you won’t have to push any stitches down.
The pinkie finger will start on peg 7. Make a half hitch knot and place it over peg 7. Wrap pegs 8, 9, 10, 11 and 12. Wrap back to peg 8. Knit off. Bring the wool around to peg 7 so you can start wrapping normally again. My pinkie finger was nine rows. Cast off the pinkie finger like this:
Cut a tail about twice the length of the ring finger. Lift the remaining stitch and pull the tail through with the crochet hook. Pull tight.
Whew!
Step Nine
Now that all your fingers are made, you’ll need to cast off the rest of the glove. Take the tail created in step 3 and thread it through the needle. Lift each remaining stitch and thread the tail through each. Leave it when you’re done.
I found the easiest way to sew up the glove was to start with the cuff. Cut a new piece of wool and sew the sides together until you reach the bottom of the thumb. Slip the hand through the glove and position the thumb on the thumb. Sew the thumb to the glove.
Next, sew the “sticky out part” to the glove as well. It was only attached with one knitted stitch, so you will need to attach both sides of it to the glove. Leave it when you’re done.
Place each real finger in the knitted finger. If you need to remove rows because the finger is too long, you can undo your stitches and make it shorter. Sew up each finger. Don’t clip the tails in case you need to sew a spot later..
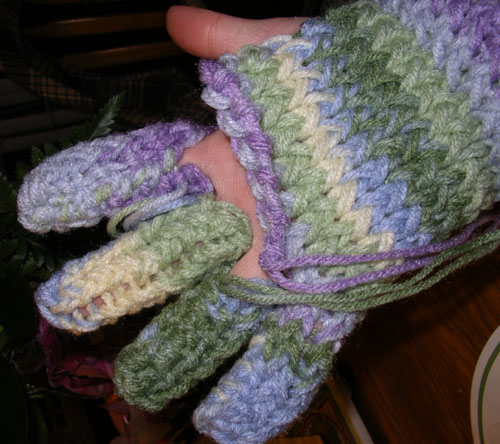
Using either the tails from the fingers, a new piece of wool, or the tail created in step 3, sew the bottoms of the fingers to the glove. You may need to sew in between each finger if there are holes. If you have tails left over, knot them with a square not and clip them or weave the ends in.